New Small project & Ironing board makeover!
Catching up this weekend!
THIS was not on the calendar but it looked so cute to make I had to try it
I used a charm pack (5" squares) and a mini charm pack (2 1/2" squares)
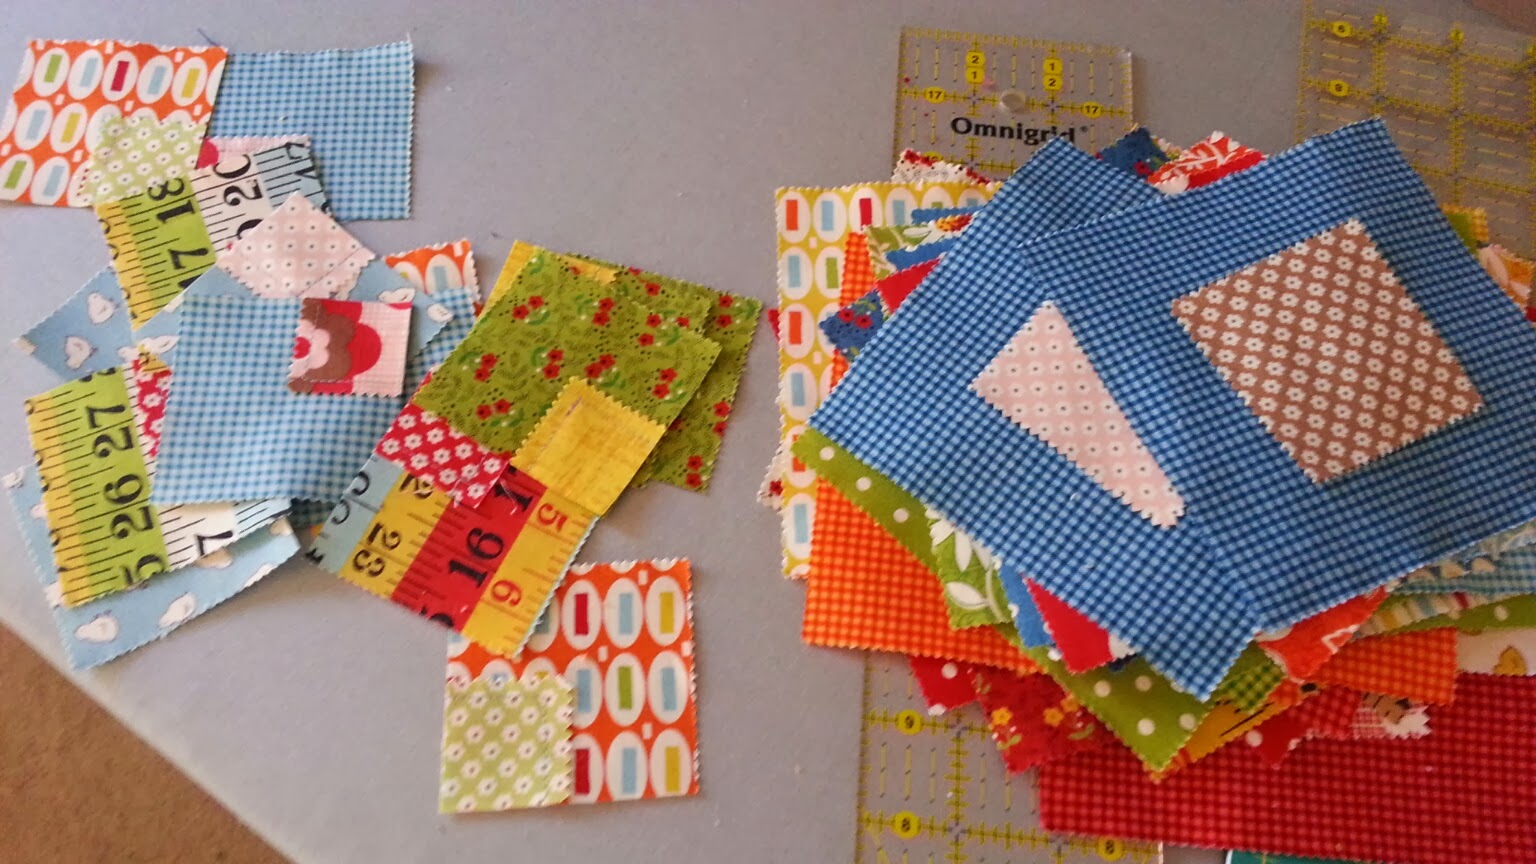
You can see the mini is simply placed in the middle, then stitched directly down, then you take that and quarter it, mix 'em up and sew them back together (with a lot of them of course)
 This darling block is c/o Missouri Star You Tube (look for the title 'Loose change')
It was great to place my little spinny cutting mat, ruler, fabrics on my new ironing board along with my iron and have it right next to my machine! Plenty of room for all! Check it out below!
I was anxious to try out my new ironing board!
 Wheeee! No more curvy pointy bit I don't need!
Shots from underneath
 The ironing board insulation and non insulated (for the top) I had purchased from Joanns
(at 50% off the ironing board insulation material was a bargain- it's normally $15 per yard) and I have a bit left over for another couple oven mits!

I modified it myself. I went to home depot, asked for a piece of wood approx 60"L x 24"W and they cut it for me. I chose Laminated pine - expensive at $23.00 for a 70" piece, but very lightweight to prevent accidental tipping.
The other benefit is that when I use steam (which is like, all the time; I don't worry about rust now, there's no way the moisture will get thru the wood to eat up the metal frame).
I brought it home and using these simple things, assembled it!
I used a charm pack (5" squares) and a mini charm pack (2 1/2" squares)
You can see the mini is simply placed in the middle, then stitched directly down, then you take that and quarter it, mix 'em up and sew them back together (with a lot of them of course)
It was great to place my little spinny cutting mat, ruler, fabrics on my new ironing board along with my iron and have it right next to my machine! Plenty of room for all! Check it out below!
I was anxious to try out my new ironing board!
Shots from underneath
(at 50% off the ironing board insulation material was a bargain- it's normally $15 per yard) and I have a bit left over for another couple oven mits!
I modified it myself. I went to home depot, asked for a piece of wood approx 60"L x 24"W and they cut it for me. I chose Laminated pine - expensive at $23.00 for a 70" piece, but very lightweight to prevent accidental tipping.
The other benefit is that when I use steam (which is like, all the time; I don't worry about rust now, there's no way the moisture will get thru the wood to eat up the metal frame).
I brought it home and using these simple things, assembled it!

If you'd like some further instructions I'm happy to help, email me. It was so simple and I LOVE the extra space on the board!
I have a customer quilt in progress that is a queen size so this will be awesome to iron it on!

Comments
Post a Comment