Binding from The Back
Recently I heard on a quilting video about binding from the back.
I had never heard of doing that and wanted to try it. It worked a treat and so I'm including these photos
as a sort of mini tutorial.
The dark green will be our 'front'

The beige will be the back

Just like when attaching binding to the front, you use your 1/4 inch seam and stitch right down to the sides to the corner.

One tip I learned was that when you get to the corner, instead of just stopping and turning, stitch right off at this angle

I am only pivoting the piece to show the angle

stitch straight off

you will have a seam that looks like this ^ above

what that does is give you a nice sharp line when you do your corner fold over

so now you have this all sewn (and of course you would finish yours)
I apologize for not doing a very good job at my 1/4 in seam. But you get the idea.

Now flip to the front
Wrap the finished edge from the back to the front.

Lay that edge right on your stitch line and stitch down your edge

When you get to the end, I stitch into the seam allowance and then turn.

With care you can match up your corners a bit better than I have so they will appear perfectly mitered

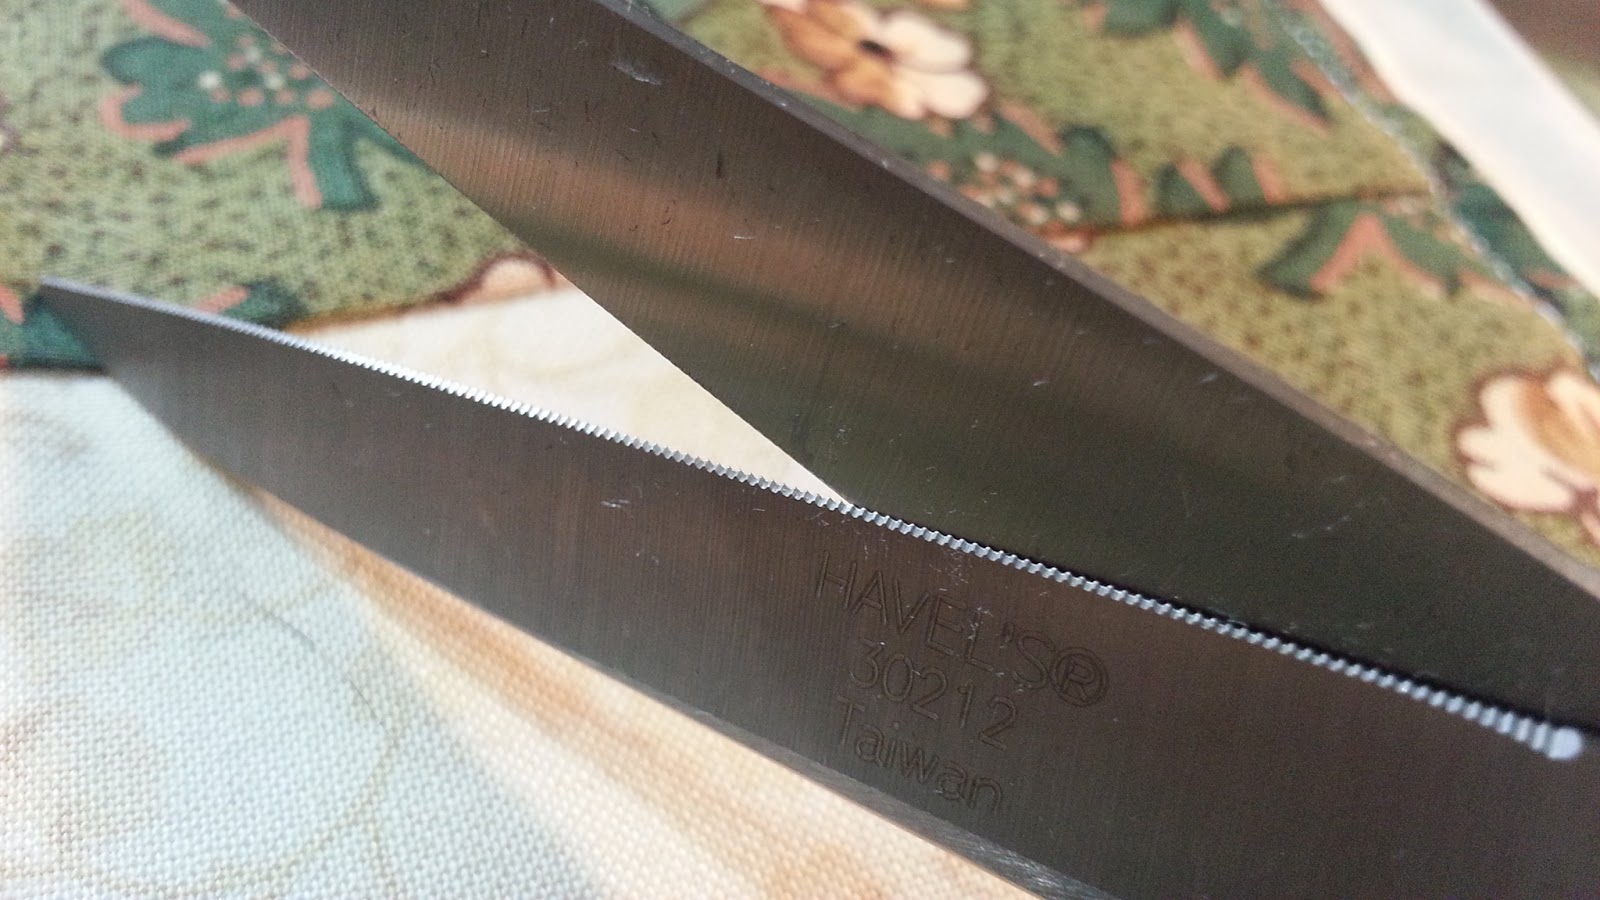
Totally off topic but here's my scissors, Havel's. See the tiny teeth? These scissors are the most amazing things and while I don't use them to cut big yardage (I'm a fan of hitting that sweet spot and just gliding my shears right up without actually scissoring) These scissors are fantastic for everything else and most especially if you are cutting small, slippery things. The wee teeth prevent the material from sliding all over and giving you wonky cuts.

You can see where I've stitched right on the seam line

That's important so that when viewed from the back, this is what you see

not this... note the 'double' seam line

In many ways this is faster and easy and I love stitching down that nice finished edge from the front. I just need to master that 1/4 seam on the edge so when I do the flip over my binding's nice & tight!
Since this is a 'how to' and I've never done one before, please forgive if there is confusion. Leave a comment or email me and I'll explain better if needed.
Thanks and Happy Sewing!

Thank you so much for sharing this. It makes a lot of sense to me, and I'll be trying it out this weekend. Your fan in Portland, OR, Carol H.
ReplyDeletePart of me would really like to learn how to make art quilts (you inspire me) but since I can't even sew - it seems a far off dream. ..
ReplyDeleteMeg